So how “hand-crafted” really are these Oscilloclocks? Well, even these tiny little washers that absorb fan vibrations are individually punched out by hand from a silicone sheet…

Clearly hand-crafted…
Speaking of fans and heat, I realise now that the site is disappointingly devoid of details on dissipation. Let’s fill the void!
Fan Fundamentals
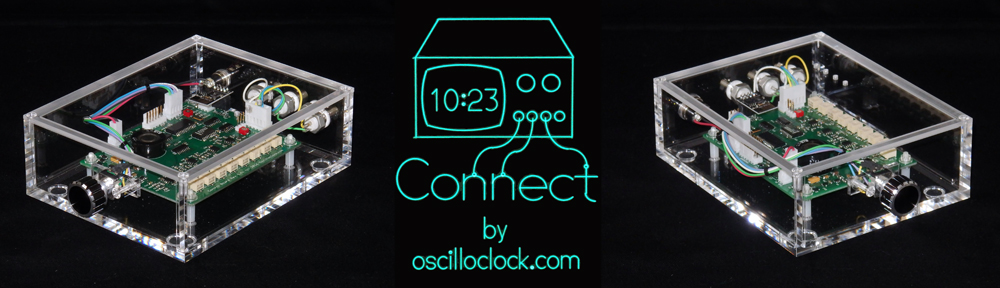
Depending on the CRT used, Oscilloclocks nominally consume 8-12W of power. Around half of this goes directly to the CRT heater and CRT Board (blanking amplifier). This heat is dissipated in the large, cavernous CRT housing, and is not really much of an issue.
However the other half is spent by the electronics – with the heat dissipated into the relatively less voluminous control unit enclosure. Acrylic isn’t great at conducting heat, so (especially in hot climes) things can get a little toasty!
To keep things cool and prolong the life of the electronics, the control unit features a small fan, driven by a temperature-sensitive speed controller on the Power Board.

But screwing the fan directly to the acrylic is a big no-no! Even this tiny fan vibrates somewhat at low speeds, and we definitely don’t want this jitter amplified by the case. People would go crazy. Pets would have a fit. No-one would sleep at night, and traffic and rail transport would grind to a halt with all the tired, irritable drivers out there. Socio-political equilibrium would be disrupted, and global chaos would ensue.
To avoid all of that, we simply need…
A Silicon Fan mounting
I originally started looking for a solution when building the Model 1. All I wanted was a nice rubber gasket – one side affixed to the case, the other to the fan. With all the right holes and clearance.
Well, I scoured the internet, and for the tiny 15 and 20mm square fan sizes I had in mind, there just wasn’t anything available off-the-shelf. And I had no intention of having 500 units made to my specifications in a low-cost country. No, I realised I would have to roll my own solution.
Silicone punching tools to the rescue!!

Tools of the trade – cutting block and hole punches
Several years have passed, but the rudimentary process is still rudimentary. The first key part is the gasket. I use a ruler and paper cutter to cut out a square piece of silicone slightly larger than the fan. I then mark out and punch out the necessary holes. This is really easy stuff!

Cut and punched gasket – ignore the dust and lint!
The screw head and the washer/nut assembly need some cushioning, to avoid direct contact with the acrylic and with the fan body. This is where those tiny silicone washers come in. I punch a 2mm hole first, and then a 4mm hole around the first hole. And a washer is born!

Almost got everything now!
Silicone is a rather sticky substance, so at this point I remove lint and dust from the parts using a piece of tape.
Next, we need to mount the gasket and fan to the case. Naked screws would pick up and transmit too much radial vibration, so I cover them with a thin sheath of rubber tubing. It’s not perfect, but if helps.

Oops, in this photo I’ve forgotten the rubber sheathing
The final pieces are the filter, and a washer to hold it in place in the recess at the rear of the case. Fortunately, these items are readily available.

And that’s all there is to it. Voila!

The final product – yes, the edges aren’t quite straight…
These techniques have been used to varying degrees in numerous models, including the Oscilloblock, the Model 1-S, and the CopperClock. See the Gallery for more!